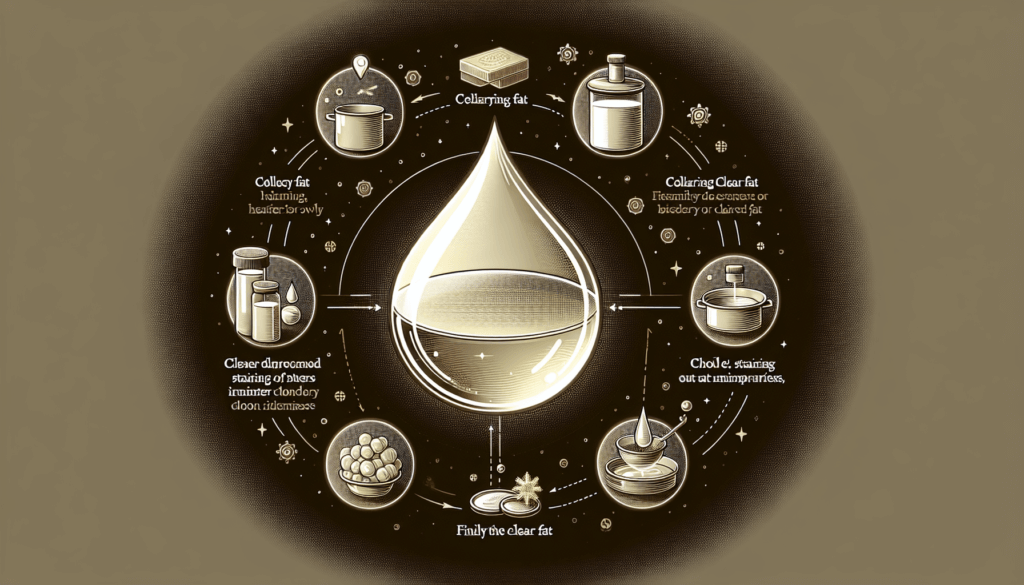
If you’ve ever wondered how to achieve that perfect, clear fat for cooking, look no further. This article presents the top methods to clarify fat, bringing you one step closer to culinary perfection. Whether you’re sautéing, frying, or roasting, having clear fat not only enhances the flavor of your dishes but also ensures a more professional and visually appealing result. So grab your apron and let’s dive into the top ways to clarify fat for cooking.

Melted Butter
Choosing the Right Butter
When it comes to clarifying butter, choosing the right type of butter is crucial. Look for unsalted butter that is made from high-quality cream. It’s best to choose butter that is labeled as “sweet cream” butter, as it has a more neutral flavor and will result in a cleaner taste when clarified.
Melting Butter
To melt butter for clarification, start by cutting it into smaller chunks. This will help it melt more evenly and quickly. Place the butter in a saucepan or a microwave-safe container, and heat it gently over low heat or in short bursts in the microwave. Be careful not to let it boil or become too hot, as it can scorch and develop an off flavor.
Skimming the Milk Solids
Once the butter has melted, you will notice a layer of foam on top. This is the milk solids separating from the butterfat. Use a spoon or a fine-mesh skimmer to carefully skim off the foam, removing as much of the milk solids as possible. This step is important as it helps to clarify the butter and remove any impurities.
Ghee
Making Ghee at Home
Ghee, a type of clarified butter commonly used in Indian cuisine, can be easily made at home. Start by melting unsalted butter in a saucepan over low heat. As it melts, the milk solids will separate and sink to the bottom. Keep cooking the butter until the milk solids turn golden brown and the butter becomes clear and aromatic, with a nutty aroma.
Separating the Milk Solids
To separate the milk solids from the clear butterfat, carefully pour the melted butter through a fine-mesh sieve or cheesecloth. This will strain out any remaining milk solids and result in a smooth and pure ghee. Be sure to discard the solids left behind in the sieve, as they can burn easily during cooking.
Straining Ghee
To ensure that your homemade ghee is free from any impurities, strain it a second time using a fine-mesh sieve or a cheesecloth. This will help remove any remaining particles or solids that may have passed through the initial straining. The result will be a beautifully clear and clarified ghee that is ready to be used in your favorite recipes.

Rendered Animal Fat
Choosing the Right Fat
Rendering animal fat involves melting and clarifying the fat of animals such as beef, pork, or duck. When choosing the fat, opt for high-quality, unprocessed animal fat. Look for fat that is firm and clean, without any signs of discoloration or off odors. This will ensure that the rendered fat is of the highest quality and flavor.
Rendering Process
To render animal fat, begin by cutting the fat into small pieces. Heat the fat slowly in a heavy-bottomed pan over low heat. As the fat melts, it will transform into a clear liquid, separating from any connective tissue or impurities. Stir occasionally and cook until all the fat is melted and the remaining tissues have browned.
Removing Impurities
Once the fat has fully melted and the tissues have browned, it’s time to remove any impurities. To do this, strain the rendered fat through a fine-mesh sieve or a cheesecloth-lined strainer. This will separate any remaining solids or impurities, leaving you with a clarified animal fat that is pure and ready to use in cooking.
Vegetable Oil
Choosing the Right Oil
When clarifying vegetable oil, it’s important to choose the right oil for your desired flavor and cooking needs. Different oils have different smoke points and flavors, so take these factors into consideration. Neutral-tasting oils like canola or grapeseed oil are popular choices for clarification as they won’t overpower the flavors of your dishes.
Refining Process
To clarify vegetable oil, heat it gently in a saucepan over low heat. As the oil warms, any impurities or solids will settle to the bottom of the pan. Allow the oil to heat gradually, ensuring that it doesn’t reach its smoke point. This slow heating process allows the impurities to separate, making it easier to remove them.
Using a Cheesecloth
To remove any remaining impurities from the clarified vegetable oil, strain it through a cheesecloth or a fine-mesh sieve. This will catch any small particles or solids and result in a clear and purified oil. The strained oil can then be stored in a clean, airtight container for future use in your favorite recipes.

Extra Virgin Olive Oil
Understanding Smoke Point
Extra virgin olive oil is a popular choice for cooking and adding flavor to dishes. When clarifying extra virgin olive oil, it’s important to understand its smoke point. Heating the oil beyond its smoke point can lead to a loss of flavor and the creation of harmful compounds. It’s best to clarify the oil using gentle heat to maintain its delicate flavor profile.
Decanting and Filtering
To clarify extra virgin olive oil, start by letting it sit undisturbed for a few days to allow any sediment to settle at the bottom of the container. Carefully pour the clear oil into a separate container, leaving behind the sediment at the bottom. If desired, you can further clarify the oil by filtering it through a fine-mesh sieve or a coffee filter.
Avoiding Sediments
To prevent sediments from forming in your clarified extra virgin olive oil, store it in a cool, dark place away from direct sunlight. Use a clean, airtight container to protect the oil from exposure to air, which can cause oxidation. By taking these precautions, you can enjoy a clarified extra virgin olive oil that is free from any unwanted particles or impurities.
Coconut Oil
Separating the Liquid and Solid
When it comes to clarifying coconut oil, you’ll need to separate the liquid oil from the solidified coconut milk. Start by gently heating the coconut oil over low heat to melt it. Once melted, allow the oil to cool and solidify. The solidified oil will separate from the liquid coconut milk, making it easier to remove any impurities.
Filtering Extra Sediments
To remove any remaining sediments or impurities from the clarified coconut oil, strain it through a cheesecloth or a fine-mesh sieve. This will catch any particles that may have settled or passed through during the clarification process. The result will be a clear and pure coconut oil that is perfect for all your cooking needs.
Reheating for Clarity
If the clarified coconut oil appears cloudy or has any particles remaining, you can reheat it gently over low heat. This will help to melt any impurities or solids that may have solidified during the clarification process. Once melted, allow the oil to cool and solidify again, then strain it through a fine-mesh sieve or cheesecloth for a final round of filtration.

Avocado Oil
Clarifying Cold-Pressed Avocado Oil
Start by heating cold-pressed avocado oil over low heat until it becomes a liquid. Once melted, allow the oil to cool and solidify partially. The solidified oil will separate from any impurities or sediments, making it easier to clarify.
Using a Fine-Mesh Sieve
To clarify avocado oil, strain it through a fine-mesh sieve. This will capture any remaining particles or impurities, resulting in a clear and purified oil. Gently press the oil through the sieve to ensure thorough filtration.
Chilling for Solidification
After the initial straining, chill the clarified avocado oil in the refrigerator until it solidifies completely. This will help separate any remaining impurities and sediments. Once solid, remove the oil from the refrigerator and strain it through a fine-mesh sieve once again for a final filtration. The resulting clarified avocado oil will be smooth and free from any unwanted particles.
Pork Fat
Preparing Pork Fat
To clarify pork fat, start by trimming any excess skin or connective tissue from the fat. Cut the fat into small pieces or grind it into a coarse paste to help render it more easily. This will also expose a larger surface area, allowing the fat to melt more evenly during the rendering process.
Rendering Process
Heat the prepared pork fat slowly in a heavy-bottomed pan over low heat. As the fat melts, it will liquefy and separate from any remaining tissues or impurities. Stir occasionally to ensure even melting and cooking. Continue cooking until all the fat has melted and the remaining tissues have browned.
Straining and Filtering
To remove any impurities or solids from the rendered pork fat, strain it through a fine-mesh sieve or a cheesecloth-lined strainer. This will separate any remaining particles, resulting in a clarified pork fat that is free from any unwanted materials. The strained fat can then be used in a variety of cooking applications, adding delicious flavor to your dishes.

Chicken Fat
Rendering Chicken Fat
To clarify chicken fat, start by collecting any excess fat from chicken skin or bones. Cut the fat into small pieces or finely mince it to promote even melting and rendering. Place the fat in a heavy-bottomed pan over low heat and allow it to melt slowly.
Skimming Off Impurities
As the chicken fat melts, you may notice some impurities or foam forming on the surface. Use a spoon or skimmer to carefully skim off these impurities and any solids that rise to the top. This will result in a cleaner and clarified chicken fat.
Applying Straining Techniques
To further clarify the chicken fat, strain it through a fine-mesh sieve or a cheesecloth-lined strainer. This will remove any remaining impurities or particles, resulting in a smooth and purified fat. The strained chicken fat can be used in a variety of dishes, adding a rich and savory flavor to your cooking.
Duck Fat
Separating Duck Fat
To clarify duck fat, start by melting the fat gently over low heat in a heavy-bottomed pan. As the fat melts, you’ll notice that it separates from any impurities or solids. Allow the fat to cook slowly until it liquefies completely and the remaining tissues have browned.
Removing Excess Water
Duck fat tends to contain some water, which can affect its clarity and flavor. To remove the excess water, carefully pour the melted duck fat into a heatproof container, leaving behind any liquid at the bottom of the pan. Allow the fat to cool and solidify, then discard any remaining liquid.
Filtering for Clarity
To ensure your clarified duck fat is free from any impurities, strain it through a fine-mesh sieve or a cheesecloth-lined strainer. This will catch any remaining particles or solids, resulting in a clear and purified duck fat. The strained fat is now ready to be used in your favorite recipes, adding a rich and distinctive flavor to your dishes.
By clarifying fats and oils, you can transform them into cleaner and more versatile cooking mediums. Whether you prefer the rich flavors of ghee or the neutral taste of clarified vegetable oil, the process of clarifying fat opens up a world of culinary possibilities. With the right techniques and tools, you can enjoy the benefits of clarified fats in your cooking, creating dishes that are not only delicious but also free from any unwanted impurities. So go ahead, experiment with different fats and oils, and discover the joys of clarified cooking!


